Turn a computer model into a useful physical object
3-D printing is a practical workshop skill: choose or design a model, prepare it for the printer, and build the part one thin layer at a time. This beginner-friendly guide explains the process, the Bambu Lab A1, useful materials and the projects coming out of the K5NWZ workshop.
What is 3-D printing?
Most hobby printers use fused-deposition modeling. A spool feeds plastic filament into a hot nozzle, the printer lays down a thin line of softened plastic, and hundreds or thousands of those layers become a finished object. The machine is only one part of the process: the model, slicer settings, material, bed preparation and part orientation all affect the result.
The beginner workflow
Find or design a model
Download a ready-made model from a trusted library such as MakerWorld, or create one in CAD. Model files commonly arrive as STL, 3MF or STEP files.
Slice the model
Bambu Studio turns the model into printer instructions. You choose the material, layer height, strength, supports and print orientation before sending the job.
Prepare the printer
Install the correct filament, clean the build plate and confirm the nozzle and plate settings. The A1 performs much of its calibration automatically.
Print, inspect and improve
Watch the first layers, let the part cool, remove supports if needed and test the result. Useful printing is often an iterative process: print, measure, revise and print again.
Why the Bambu Lab A1 feels like the iPhone of 3-D printers
I stayed away from 3-D printing until the machines became more mainstream, affordable and approachable. The Bambu Lab A1 changed that calculation. Calling it the “iPhone of 3-D printers” is a metaphor, not an official product description: the idea is that it packages complicated technology behind a polished setup, guided software and a generally predictable workflow.
Earlier hobby printers often expected a new owner to assemble, tune and troubleshoot the machine before getting a good part. The A1 handles bed leveling, Z offset, vibration resonance and flow-related calibration automatically. Bambu Studio, the Bambu Handy app and MakerWorld also connect model discovery, slicing, printer control and monitoring into one ecosystem.
It is still a machine, not magic. A dirty build plate, wet filament, poor part orientation or the wrong material profile can still ruin a print. What the A1 does well is remove many mechanical barriers so a beginner can spend more time learning design and making useful objects.

Automatic setup
Full-auto calibration reduces the manual leveling and tuning that discouraged many first-time printer owners.
Useful build size
The A1 offers a 256 × 256 × 256 mm build volume—large enough for many workshop parts, enclosures and display projects.
Optional multicolor
AMS lite can manage as many as four filament colors, making signs, labels and visual models easier to produce.
A1 specifications in plain language
| Feature | What it means to a newcomer |
|---|---|
| 256 × 256 × 256 mm build volume | The maximum printable space is roughly a ten-inch cube, although orientation and supports determine what actually fits. |
| 300 °C all-metal hot end | The nozzle can handle common materials and some higher-temperature filaments, but the open-frame A1 is best matched to the materials Bambu recommends. |
| 100 °C heated bed | The warm build plate helps the first layer stick and supports materials such as PLA, PETG and TPU. |
| Up to 500 mm/s toolhead speed | The printer is designed to move quickly, but maximum advertised speed is not the same as the best speed for every model or material. |
| Built-in monitoring camera | The low-frame-rate camera supports remote checks and timelapse recording; it is useful for status, not cinematic live video. |
| Runout, tangle and power-loss safeguards | Sensors help catch common interruptions, but it is still smart to monitor the first layers and keep the printer in a safe workspace. |
Choose a material
PLA
The easiest starting material. It prints cleanly, works well for models, signs and many indoor parts, and normally needs no enclosure.
PETG
Tougher and more heat resistant than basic PLA. It is useful for workshop parts, brackets and outdoor-adjacent projects, but can string more.
TPU
A flexible material for feet, bumpers, gaskets and protective parts. It prints more slowly and needs carefully chosen settings.
Project: the mountains west of Loveland
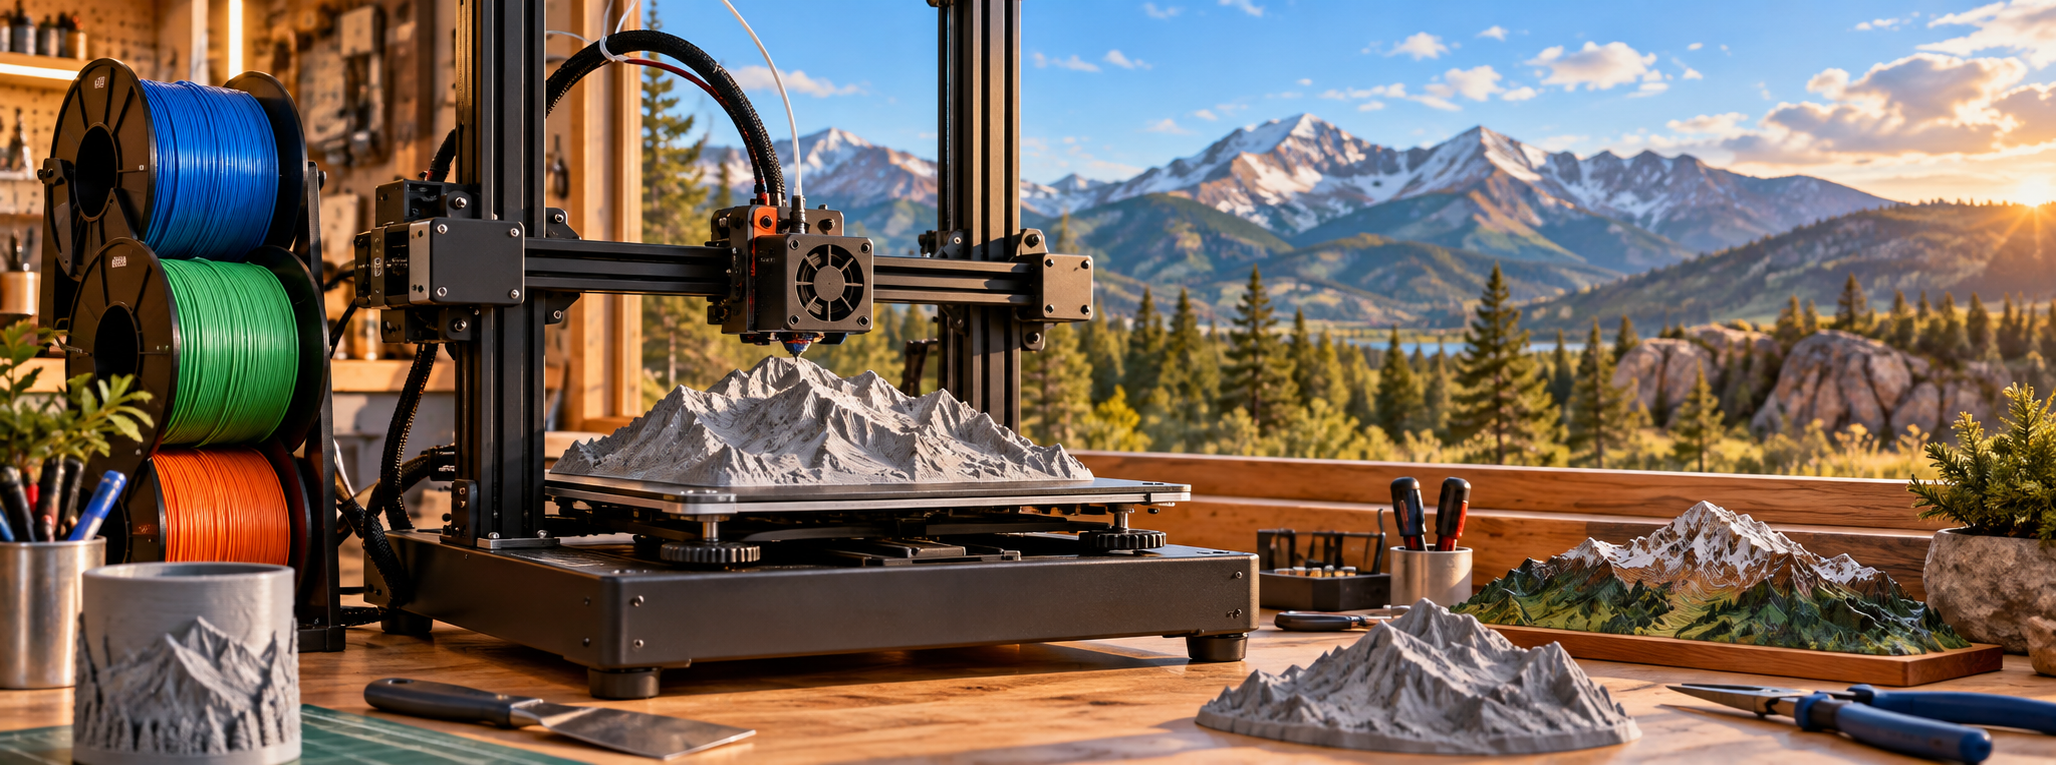
One of the most satisfying projects from this printer is a scale terrain model of the tallest mountain peaks visible west of our home in Loveland, Colorado. It connects mapping, geography and fabrication: elevation data becomes a three-dimensional surface that can be held, viewed and compared with the real skyline.


Watch the mountain model
Open the video directly on YouTube ↗
Workshop printer camera
The A1 camera is available inside the K5NWZ smart workshop
The Bambu A1 camera is connected to Home Assistant and can be used privately to check a print in progress. It is not embedded directly here because the Home Assistant camera requires authentication. Publishing that private camera address or an access token would expose part of the home-automation system.
A public view can be added later through a separate, read-only relay or a periodically refreshed still image that contains no Home Assistant credentials. Until that safe bridge is built, this page will not pretend the feed is public or display a broken camera window.
Good first projects
Organizers and labels
Make small bins, cable guides, battery holders and drawer labels. These are forgiving prints that teach sizing and tolerances.
Radio accessories
Try microphone hangers, display stands, cable strain reliefs and equipment brackets—while keeping heat, RF and structural limits in mind.
Jeep and camp helpers
Print low-risk organizers, clips and templates. Do not trust ordinary hobby plastic for recovery gear, safety-critical mounts or high-temperature vehicle locations.
Maps and display models
Terrain, topography, buildings and signs combine digital data with a finished object that is easy to share and explain.
What I am learning
3-D printing rewards curiosity. Every model teaches something about dimensions, strength, temperature, supports, orientation or material behavior. The goal at K5NWZ is not simply to collect decorative prints—it is to use the machine as another workshop tool alongside radio, electronics, off-roading and home automation.